Your foundation supports your entire house, so you have to make sure it is sound. Cracks in your foundation look bad, but they can also lead to the eventual loss of structural integrity, which can mean high-cost repairs. Take a look at your foundation to check for any cracks that need to be repaired. The faster you fix cracks before they grow, the easier and cheaper the repairs will be. Know more at staydrywaterproofing.com.
Step 1: Inspect Your Foundation Cracks
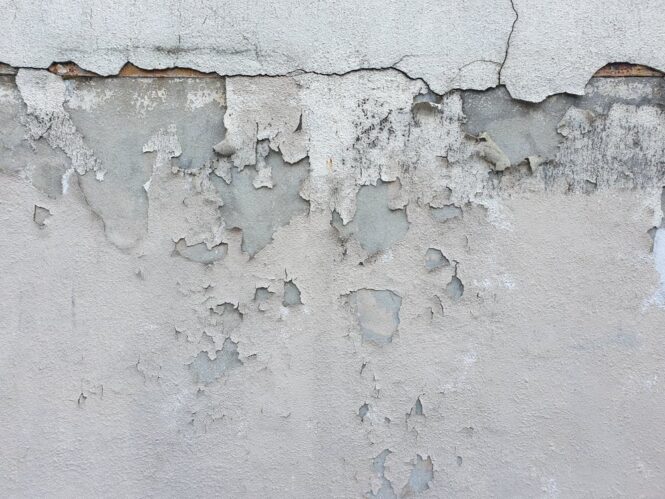
There are several reasons that foundation cracks occur. To repair cracks and address why they are happening, you need to investigate your home’s foundation. Over time, the soil around the foundation settles. Water can infiltrate the foundation walls, and the concrete expands and contracts due to temperature changes. The stress of these factors weakens the foundation’s concrete, and once cracks begin, they often can continue to grow, potentially into a major problem if not taken care of.
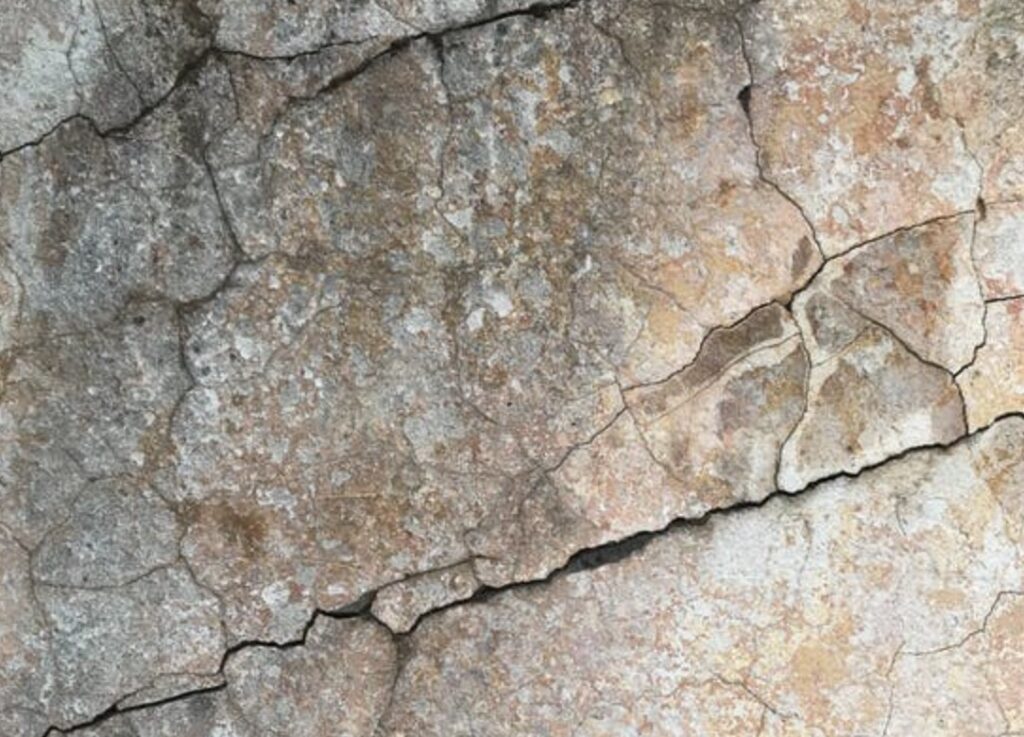
In most cases, you can determine what is causing foundation cracks by the cracks themselves. Settling soil usually causes horizontal cracks and can be thin or wide, depending on the extent of the soil movement. This is usually the most common reason for foundation cracking.
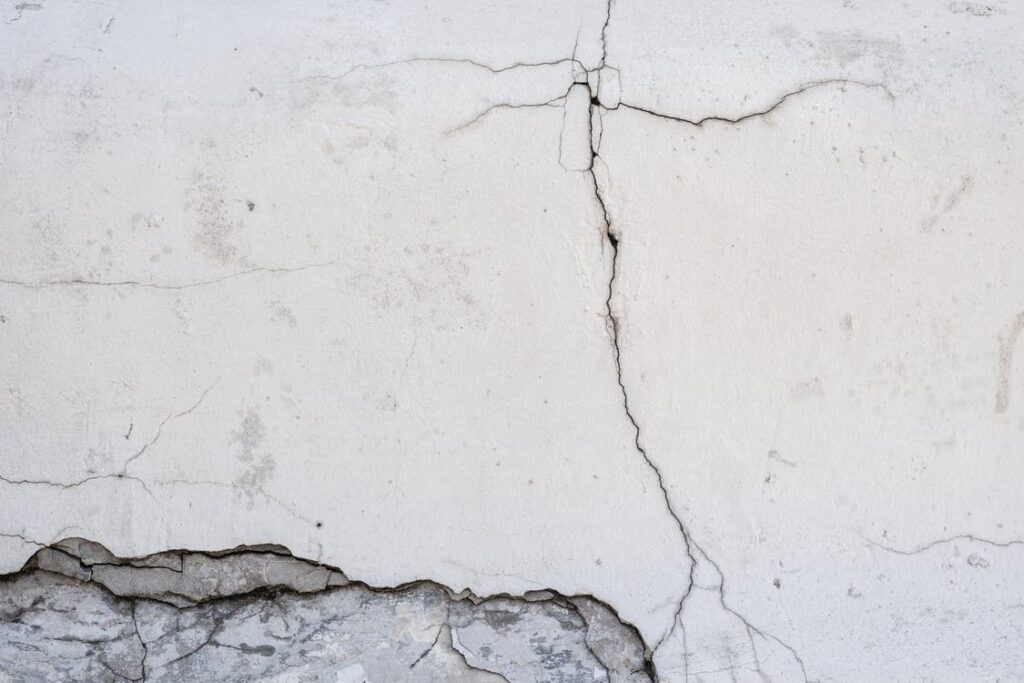
The second most common cause is excessive moisture around the foundation. Too much moisture can lead to water infiltrating the concrete and seeping through to the other side inside your basement, which can also spell problems. As the water works their way into the concrete, the pressure inside the foundation wall can crack. In addition, the soil swells when it is wet, which creates excess pressure and stress on concrete. Cracks from water usually are vertical or diagonal.
Cracks from expansion and contraction of the foundation’s concrete are usually hairline thin and are vertical or diagonal. These are less of a worry than cracks caused by settling or moisture infiltration, as long as they’re taken care of immediately and not allowed to grow or expand.
Step 2: Prepare the Cracks for Repair
Using an old flat head screwdriver and a stiff wire brush, clear out any loose material for cracks wider than a hairline, such as broken or cracked bits of concrete, dust, and debris. Use a hammer and chisel to slightly widen the crack and undercut the crack edges to facilitate patch adhesion. This will give the patch more area to adhere to and keep it from slipping out of the crack. Hold the chisel at an angle and chip away. Clear out bits of debris and dust with the wire brush and then rinse the crack with water from a garden hose. Pat the area dry with an old towel.
Step 3: Repair Hairline Cracks
Thin hairline cracks can usually be repaired with a vinyl concrete patching compound. If the manufacturer recommends, apply a concrete bonding adhesive or primer/additive to create the best bond possible between the old surface and the patching material. Use an old or inexpensive paintbrush to work the liquid into the crack and around the crack edges. Wash the brush immediately after use with soap and water, or discard it.
Use a putty knife or trowel to apply a vinyl patching compound in multiple layers as directed by the manufacturer. Mix only the amount of patching you’ll need for each layer. Press it firmly to force the initial layer into the crack and allow drying time between layers.
You can also patch thin cracks with a cement mixture if they are wide enough to accept sand. Mix one-part cement and three-part sand with enough water to make a stiff paste in a small bucket.
Mix a small amount of cement with more water in a separate container — enough to make a cement paint.
If you can, paint the inside of the crack with the thinner cement mixture. This will act as a primer. Then pack the paste mixture firmly into the crack with a putty knife or trowel. Level the mixture with a straight-edged concrete-finishing trowel. Let the patch sit undisturbed for about an hour, then go over the entire surface with a float or trowel in a circular motion, blending it well with the surrounding surface.
Step 4: Repair Large Cracks
Cracks wider than a hairline can be filled with polyurethane, silicone, or latex concrete caulk. Use a caulking gun to force the caulk into the crack along its entire length. This type of caulk is effective because it fills the entire crack space and allows for the expansion and contraction of the foundation during extreme changes in weather. After application, let it dry. Apply again if it contracts inside the crack and doesn’t fill the entire depth of the crack.
If cracks are wider than 1/2″ and as deep, you may need to use foam backer rods in addition to concrete caulk. Sold in various lengths and diameters, foam backer rods are great for supporting a patch and preventing the patch from sinking into any cracks as it dries and ages.
Use a putty knife to force the flexible rod into the crack, placing it about 1/4″ below the surface. Once the foam backer rods are in place, you can fill the crack with caulk or use vinyl patching compound the way you would in Step 3.
Using a putty knife, you can also use hydraulic cement to fill in cracks. Following package instructions, mix hydraulic cement with water in a bucket. Use a trowel to mix it and combine the two until the mix is homogenous. Dampen the crack by misting it with water from a spray bottle, then push the hydraulic cement mixture into the crack with a putty knife. Let this dry for an hour or two, then add another layer of cement mixture over the crack. Use a trowel to make the cement patch level and smooth with the wall surface.
Ask for advice from an expert at your local hardware store to see which methods might work best for your particular needs.
Step 5: Seal the Foundation Walls
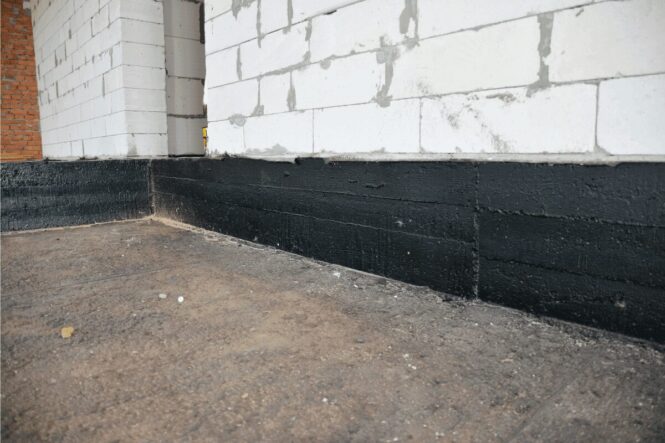
Now that the crack has been filled and the patch has set or dried, you’re ready to apply waterproof masonry sealer to the foundation walls. This will protect the concrete from any water infiltration.
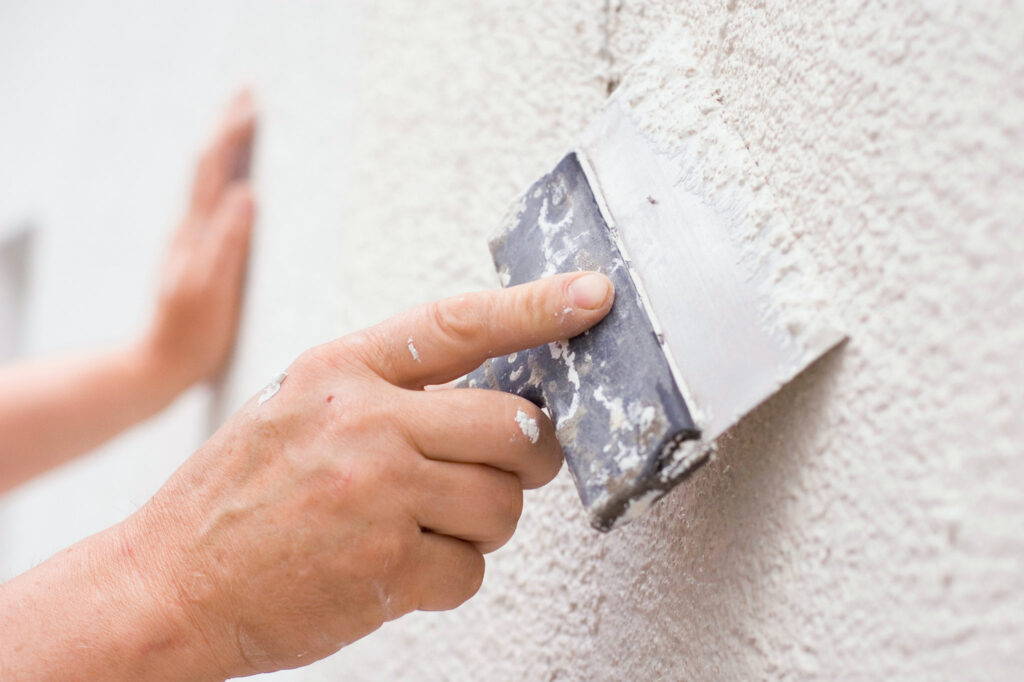
Existing paint and coatings must be removed from the surface, and the concrete must be able to absorb water. Apply the sealer with a brush directly to the patch for the best results. The second coat can be applied with a large brush or masonry roller. Work sealant thoroughly onto the patch and around it by a few inches to 1′ to ensure a proper seal.
Step 6: Take Preventive Measures
Besides sealing your foundation walls, the most important thing you can do to preserve the integrity of your foundation is to keep water away from it as much as you can.
Make sure your gutters and downspouts are properly functioning. Inspect them for damage and ensure that they are clean, clog-free, and running smoothly. Gutters are designed to collect rainwater and flow through downspouts directed away from the house foundation. When water pours over gutter sides, it soaks into the ground near your home’s foundation. Excess water can cause the soil to expand, applying stress to your foundation, or can infiltrate the foundation walls. A good rule of thumb is for downspouts to divert water away from your foundation by at least 5′.

Conclusion
Avoid having shrubs or small trees close to your foundation. Watering them may allow too much water to collect in that area and undo the work done by gutters. Also, make sure that driveways and walkways slope away from your foundation to prevent water from collecting in the soil there.
Great job! You’ve patched and repaired your foundation to be sturdy and secure and taken steps to help prevent further problems. High pressure concrete crack injection can help too.