Going solar and green is nothing new in this day in age. Everyone is doing it and it has been made as simple as possible. All you need are the panels, some hardware and tools and you are ready to become self-sustained.
Solar panels are self-explanatory and we don’t need to tell you a lot of detail about them. These are panels that convert solar heat into electricity and either store it off-site or transfer it directly to the grid for immediate usage. It is entirely up to you how you will arrange your panels and how you want to utilize them. There are several criteria you must follow to ensure that you get the most out of your equipment and panels and that they last the projected and guaranteed lifetime.
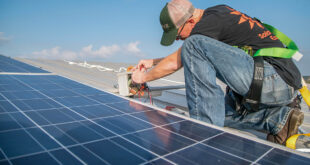
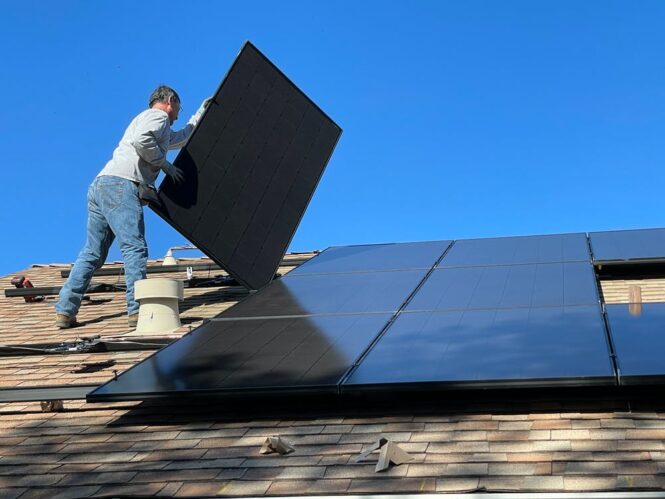
Today we will talk about solar panels and their installation time. Some of you probably don’t know but solar panels are really easy to install and they are fast to install. The waiting time for these to be set up on or around your home is due to high demand and the inability of a company that sets these up to respond to such demand with workers. This is why sometimes you can wait up to several months for your panels that you order and pay for instantly.
To avoid this there are numerous tutorials online on how to set up your solar panels and how to wire everything up and now you know where you can buy all the parts you need to do this job. Just head on over to pvconnections.com.au and get everything from tools to cables, connectors, conduits etc…
Now when it comes to the time needed to assemble this it will vary greatly because each one of us does not have the same skills or knowledge when it comes to electricity and wiring. To speed up the entire process, you need to have everything laid out and already on site. There are 4 most important parts to going solar and for everything to work properly you need:
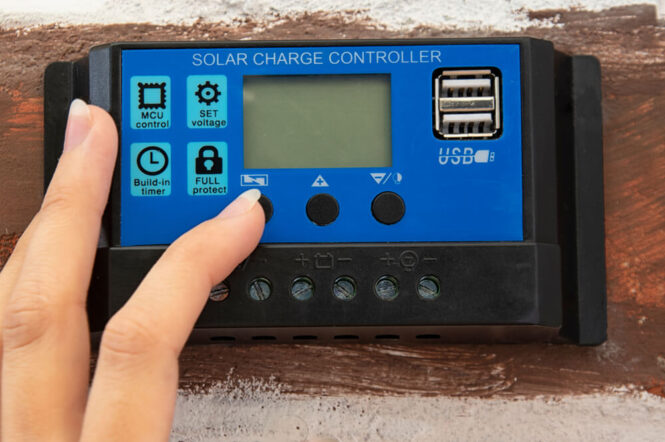
1. Solar Charge controller
2. Battery
3. Solar power inverter
4. Solar panel
A solar charge controller is your unit that will provide all kinds of helpful information about the system’s temperature, power from the solar panel (charging or drawing or having an over voltage), battery level (charging, full, low, or empty), and system status (is it on or off). Depending on the sort of charge controller you have, some of this information may be somewhat different or in various colours, orders, and so on. The charge controller will also have positive and negative connections that you will need to connect to your panel, battery, and power inverter in order to receive all of this information displayed.
The battery will be determined by your arrangement. Do not make the mistake of assuming that any sort of battery will suffice for this purpose, and do not choose the cheapest one. There are specially designed batteries for solar energy storage, and the size of such batteries will vary depending on the type of solar project, how much energy will be stored, what voltage, and so on. The most essential thing to remember here is to always use batteries designed for solar energy storing rather than the cheapest options. It is a safety precaution, and it is always better to be cautious than sorry when it comes to power and energy.

Solar inverters are custom-made to your specifications. You will need a solar power converter that can support the size of our solar panel installation, which means how much electricity you will be drawing, storing, and consuming. If you go too tiny, you’ll have a lot of problems and bottlenecks in the grid, and going too huge will be a waste of money. Calculate the sort of energy that will flow through the system to determine the type and power of solar inverter you will require. This device’s main function is to convert DC 12V power from the solar panel and battery to AC 220V, which is what most household appliances utilize. This one is simple to connect, and one end of the inverter has positive and negative terminals, a fan, and one or more fuses, while the other side has AC out plugs for your appliances, an LED, and an On/Off button.
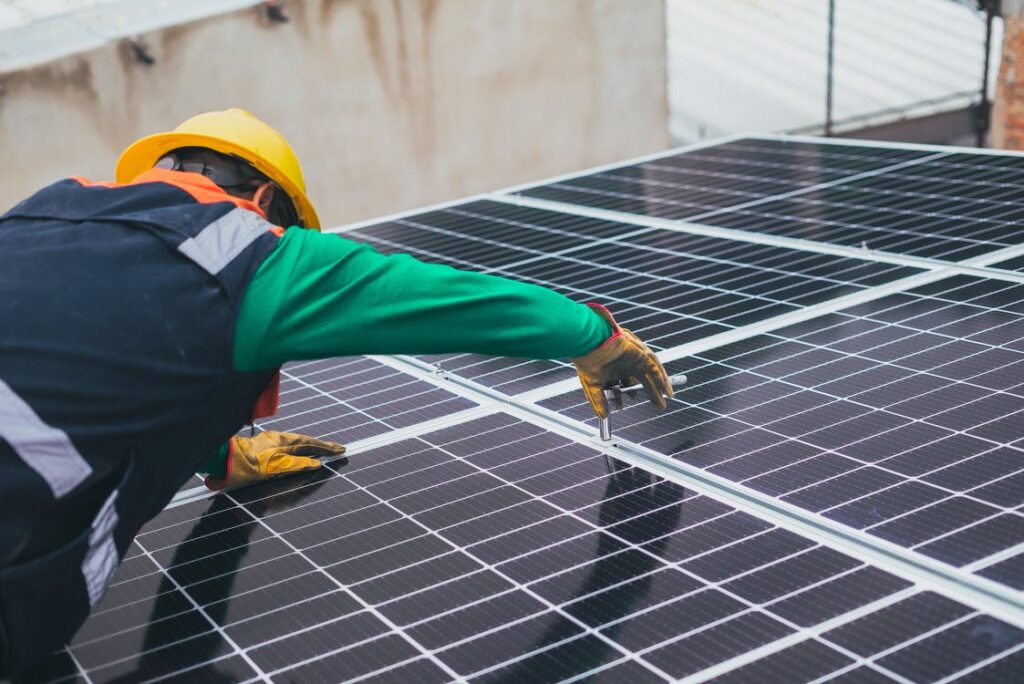
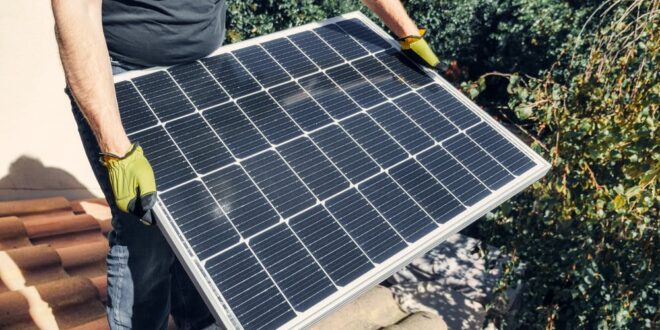
The final element of the jigsaw is a solar panel, which is simple to install. Choose where you want your panel to be, on a roof or on land, and then pull its cables and connect them as needed. It’s as simple as that; just make sure to position your solar panel in an area with the most sunshine to get the most out of it.
The final step is to connect everything up, and if you want to speed up the process, we will explain how right now. Take the positive and negative terminals from a solar panel and connect them to the solar charge controller using these four components. Connect the positive and negative terminals from the battery terminals to the solar charge controller where it is authorized to be connected, and then connect the charge controller’s positive and negative terminals to the power inverter’s positive and negative terminals. All that remains is to turn on the power inverter, connect your appliances, and enjoy the free energy provided by the sun.
As you can see these things are not that difficult or that complicated to do. Since it is electricity, we are talking about many people instantly drawing back and don’t want to fiddle with it since it is dangerous. When you realise that there are only four easy steps and four main components to hooking up to make the entire system operate easily, it becomes clearer that there is nothing to be afraid of.
Try this yourself, follow these 4 steps we listed and you will hook up your solar panel or panels in no time. Best of luck and enjoy your free energy from the sun.